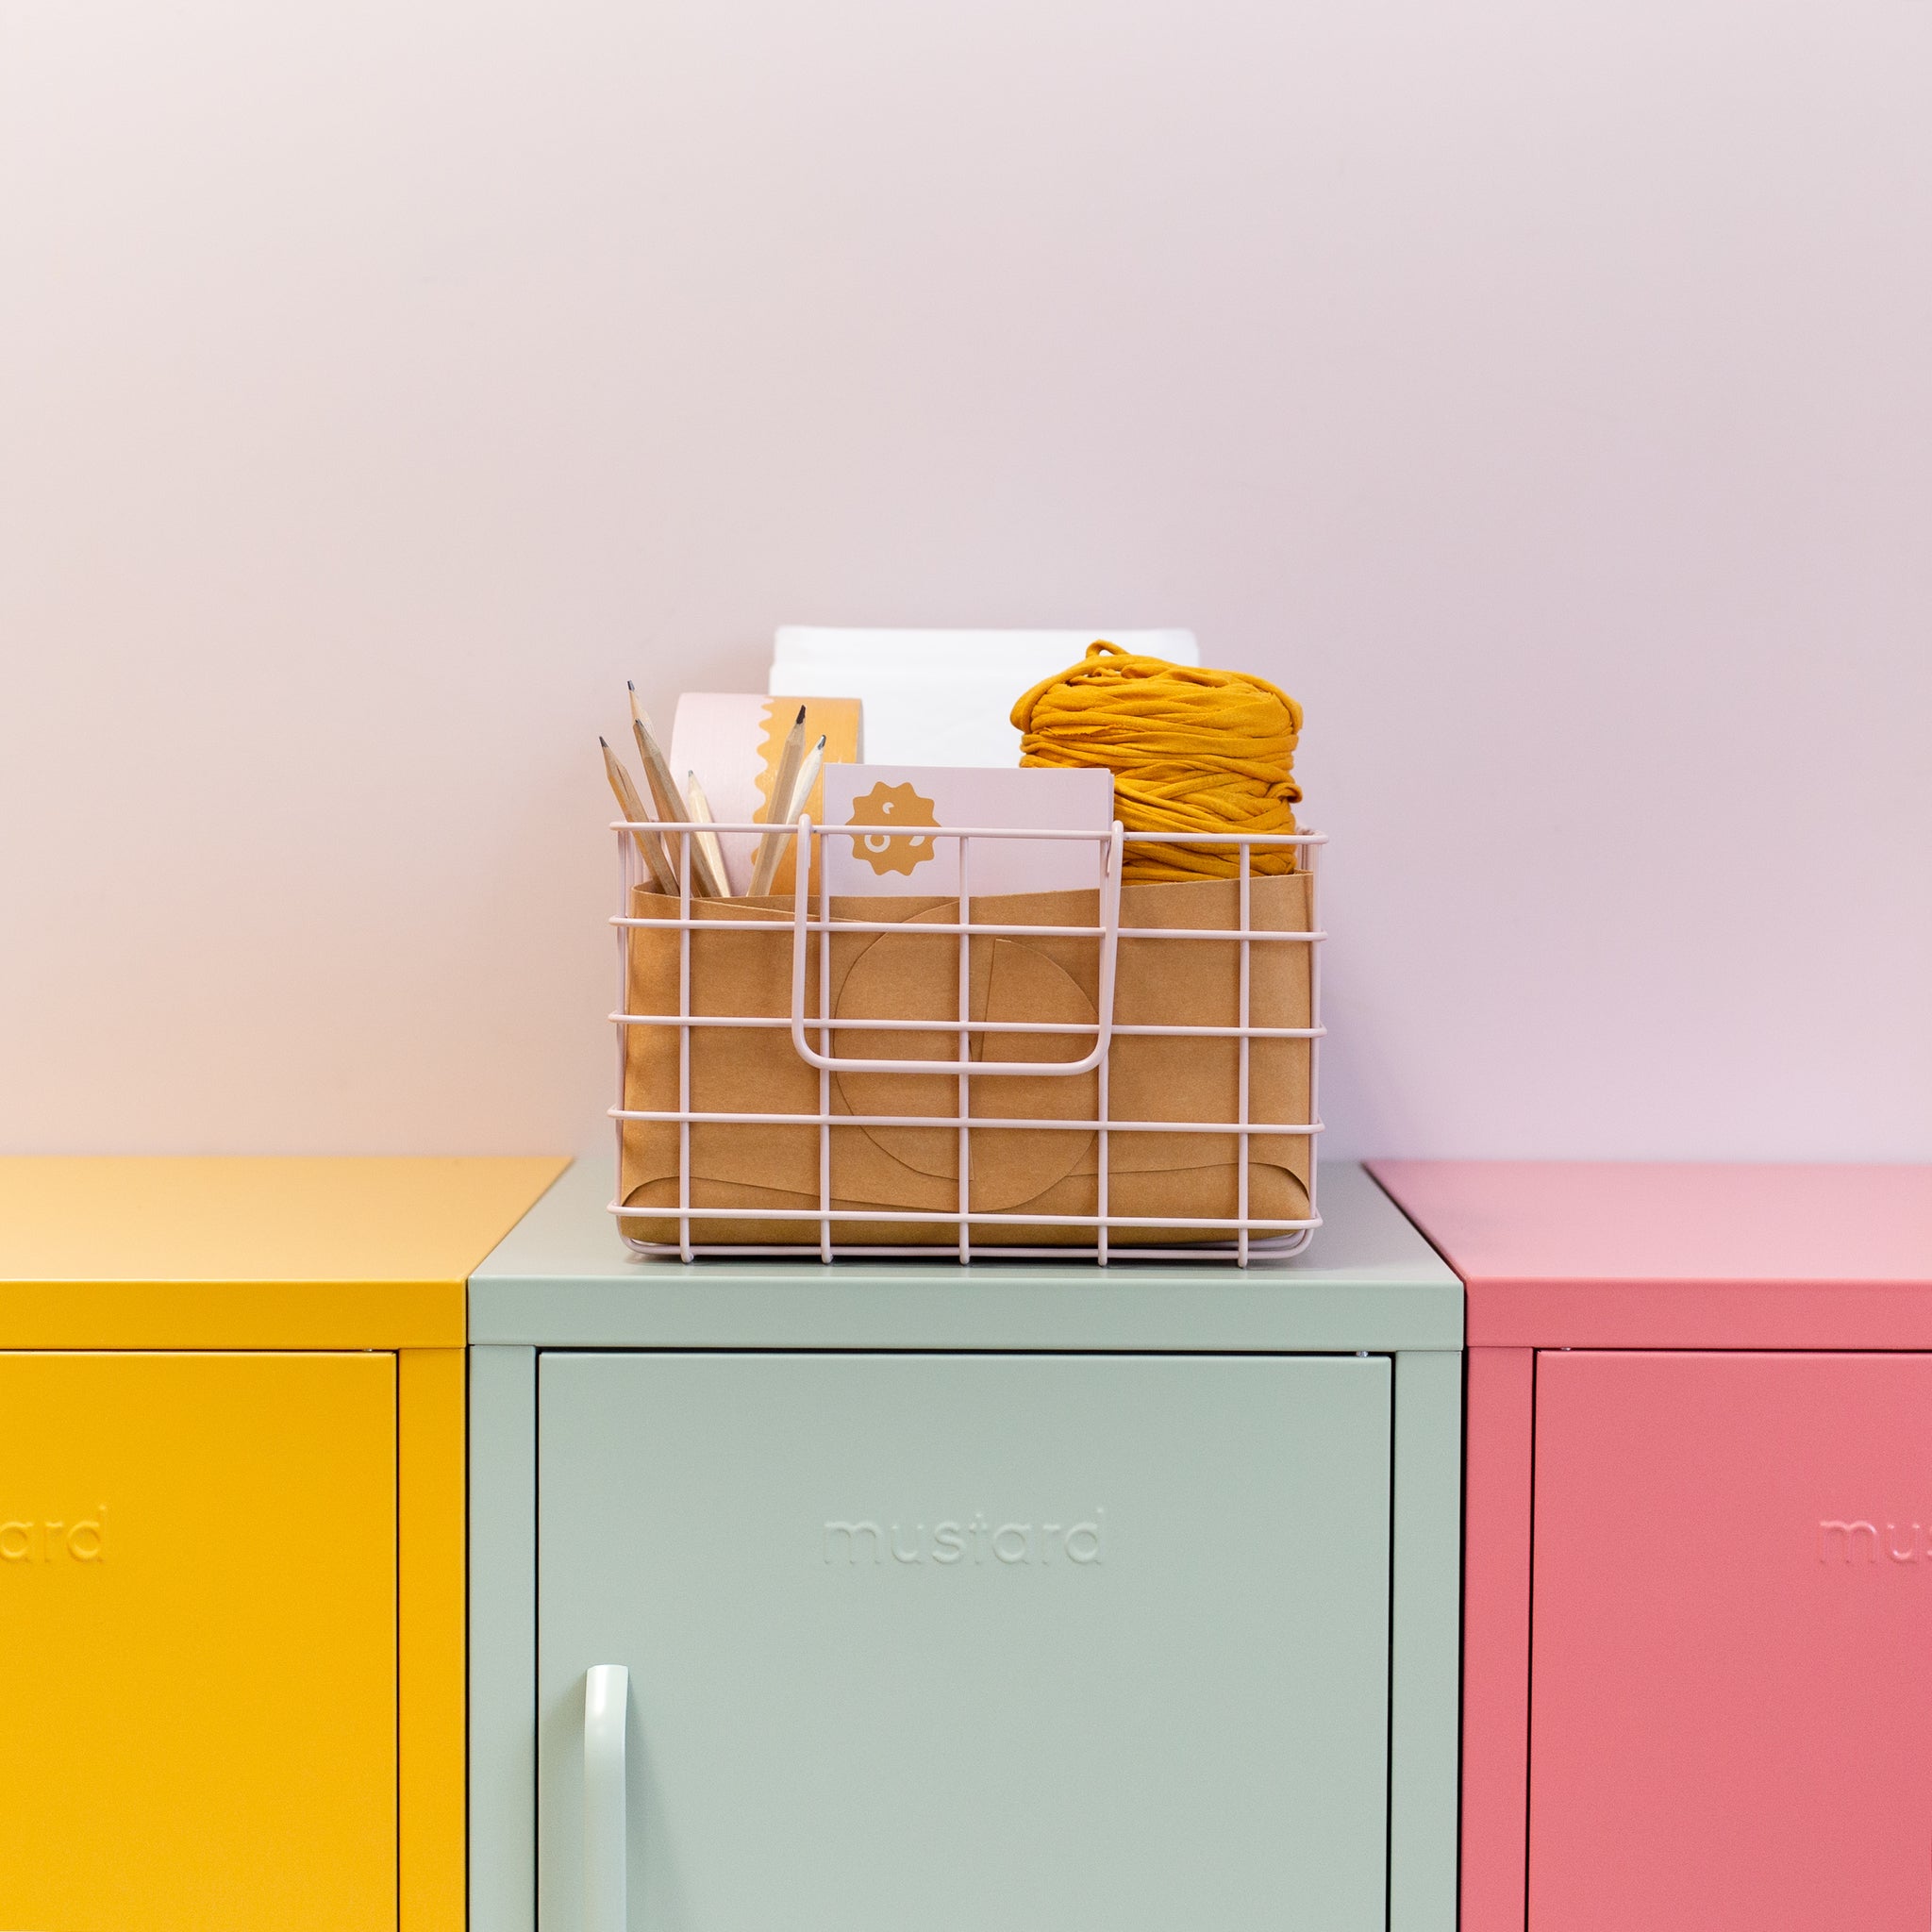
It's time for a super handy DIY! These instructions will show you how to make a washable paper insert for your baskets to keep all of your little bits + pieces neatly tidied away. This DIY is great if you like to use your baskets for craft supplies, toys (hello lego!) or kitchen storage because it can be easily removed to clean + it stops anything from falling out!
Ready to take your baskets to the next level?
What you need
- Washable paper: Small 55cm x 48cm / Large 50cm x 72.6cm (here's where we got ours from)
- A printer
- Tape
- Scissors
- Download the DIY patterns: Small + Large
- Mustard Made Baskets
Step by Step

one.
Print the downloadable pattern pieces on A4 paper + check the size is correct using the measurement square on the printout.

two.
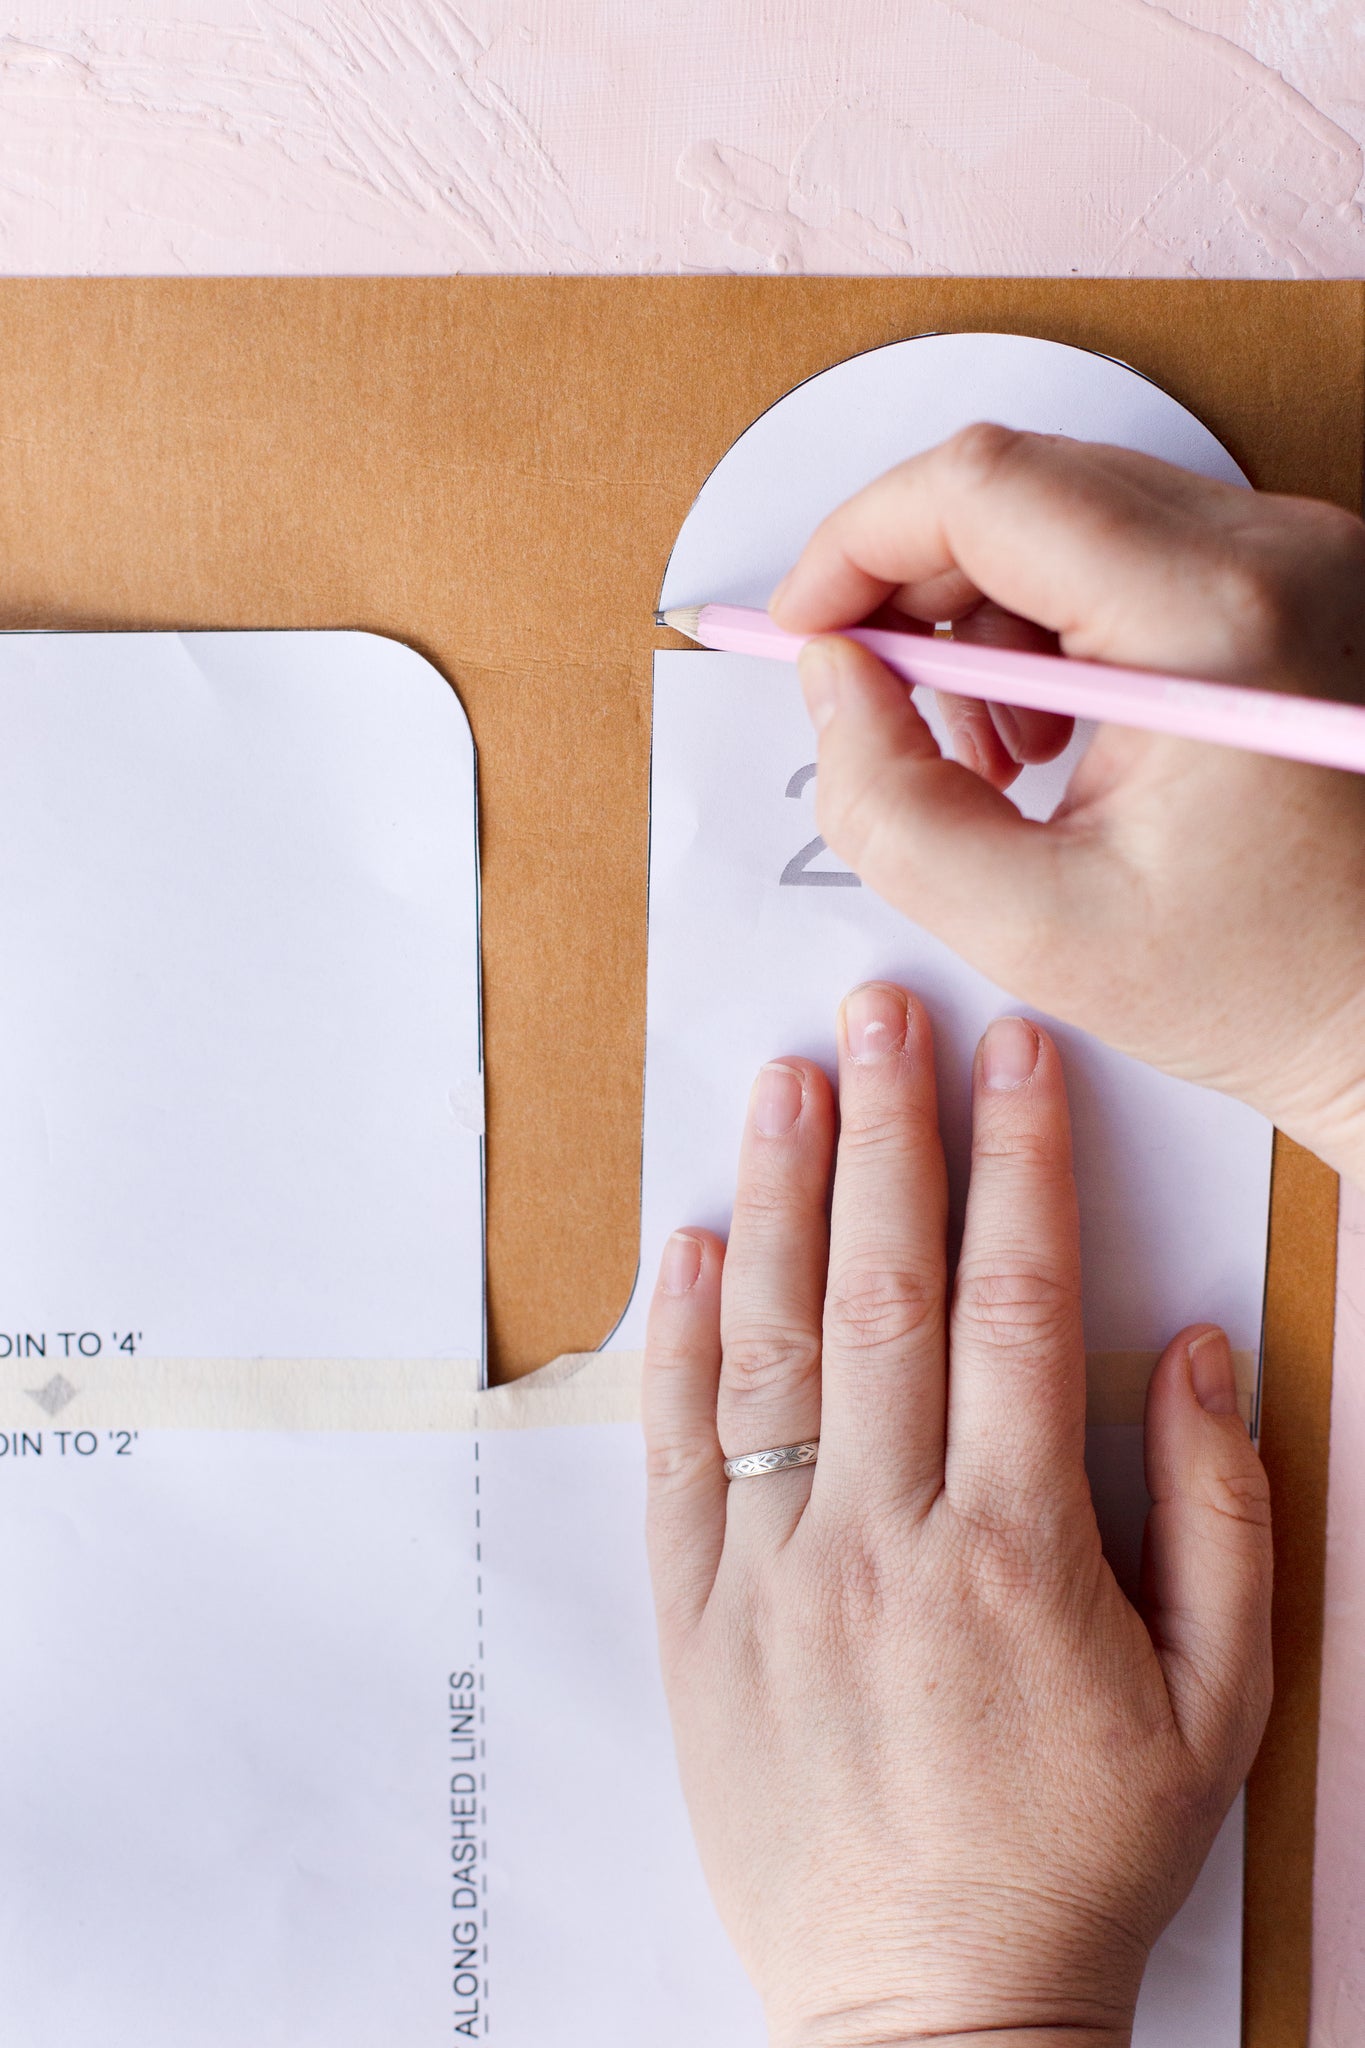
Tape the pages together following the black arrows. Cut out around the solid outline - don't cut the dashed lines!
Tip! Cut off the margins on the pages where needed so the black arrows join together to create a diamond.
three.
Lay out the template + trace the pattern onto the sheet of washable paper.

four.
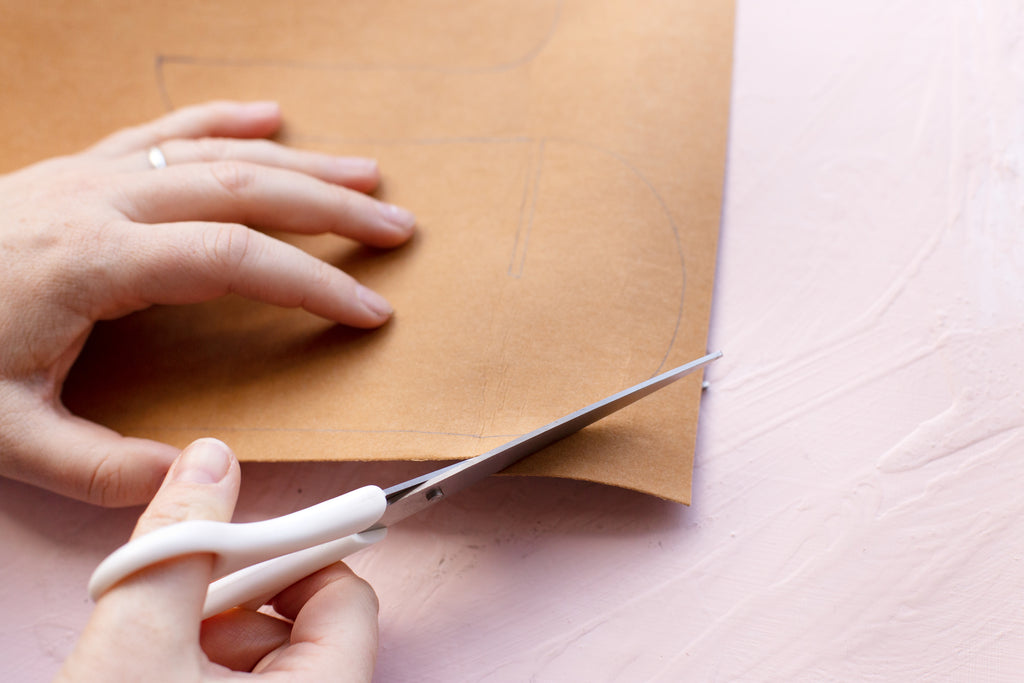
Cut carefully along the outline to create the shape.

five.
Gently fold the panels along dashed lines.
Slot together the round ends. 1 & 2 fit together + 7 & 8 fit together to form a circle on each side.
Tip! Panels 3 + 4 line the inside & the circles go on the outside (like in the photo below!)

Ta Da!
We have found these inserts so useful + we hope you do too! We would love to see what you create - tag us on Instagram @mustardmade


This very clever pattern was created by Oh Josephine, styled by You Give Me Grace + photographed by Jo Kim Photography.


